10 Renter-Friendly DIY Projects for Apartments
Renting shouldn’t mean living in a space that feels temporary. The biggest myth about small-apartment DIY is that you need a landlord’s permission, a drill, or a big budget to make real changes. In reality, some of the most transformative apartment upgrades are completely reversible, require no tools beyond a level and some patience, and can be undone in minutes when you move out — with zero deposit risk.
Here are 10 renter-friendly DIY projects that make an apartment feel like home, without a single hole in the wall.
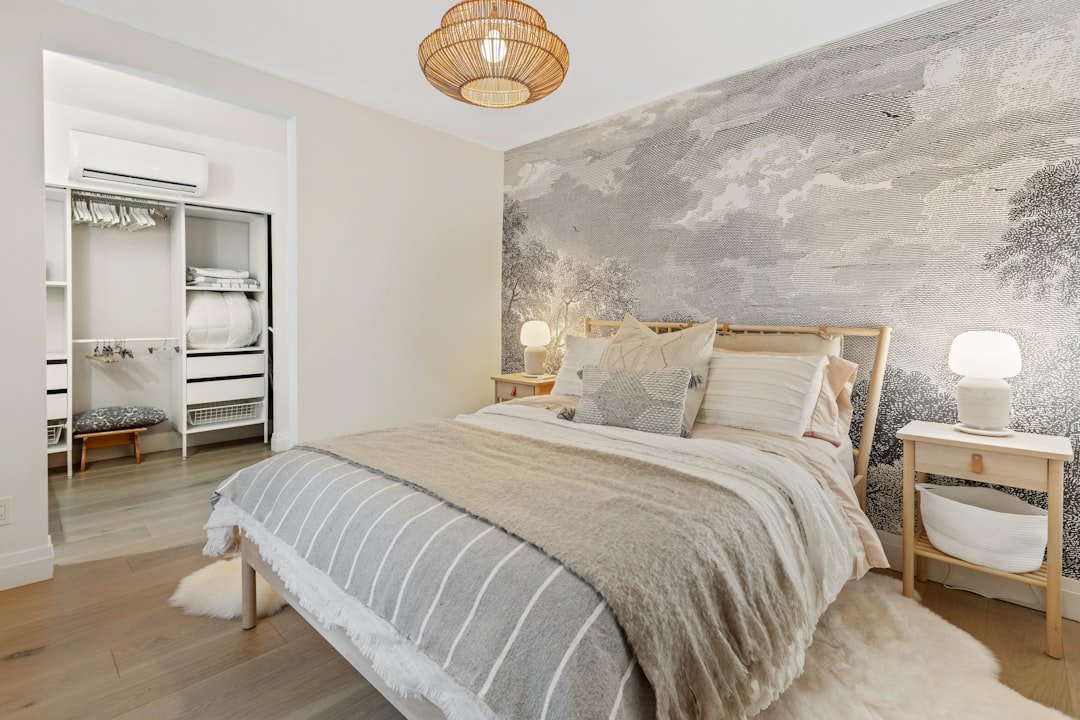
1. Removable Wallpaper Accent Wall
Peel-and-stick wallpaper has come a long way — modern versions apply cleanly, remove without damage, and come in hundreds of patterns, from bold botanical prints to subtle textured neutrals. Choosing just one wall (usually behind a bed or sofa) keeps the cost and the commitment low while making a huge visual impact.
Measure your wall carefully before ordering, always buy 10% extra to account for pattern matching, and apply in a room-temperature space for the smoothest finish. Most peel-and-stick wallpaper can stay up for 1–3 years without damaging paint underneath, making it one of the safest big design swings a renter can make.
2. Command-Hook Gallery Wall
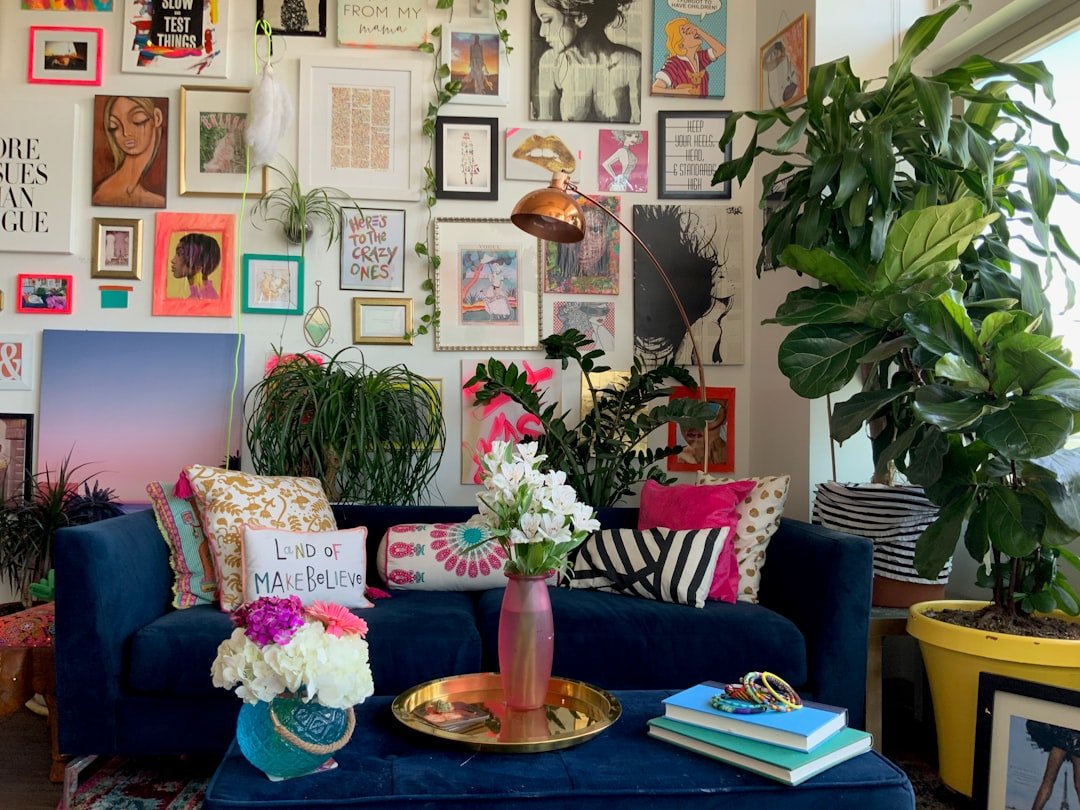
A curated gallery wall instantly makes a rented apartment feel personal, and heavy-duty Command strips hold picture frames securely without a single nail hole. Arrange your frames on the floor first to plan spacing, then transfer the layout to the wall using painter’s tape as a guide.
Mixing 2–3 frame finishes and a couple of different sizes keeps the wall feeling curated rather than mismatched. When you move out, Command strips remove cleanly with no patching required — just pull straight down, not outward, to avoid any paint damage.
3. Peel-and-Stick Backsplash
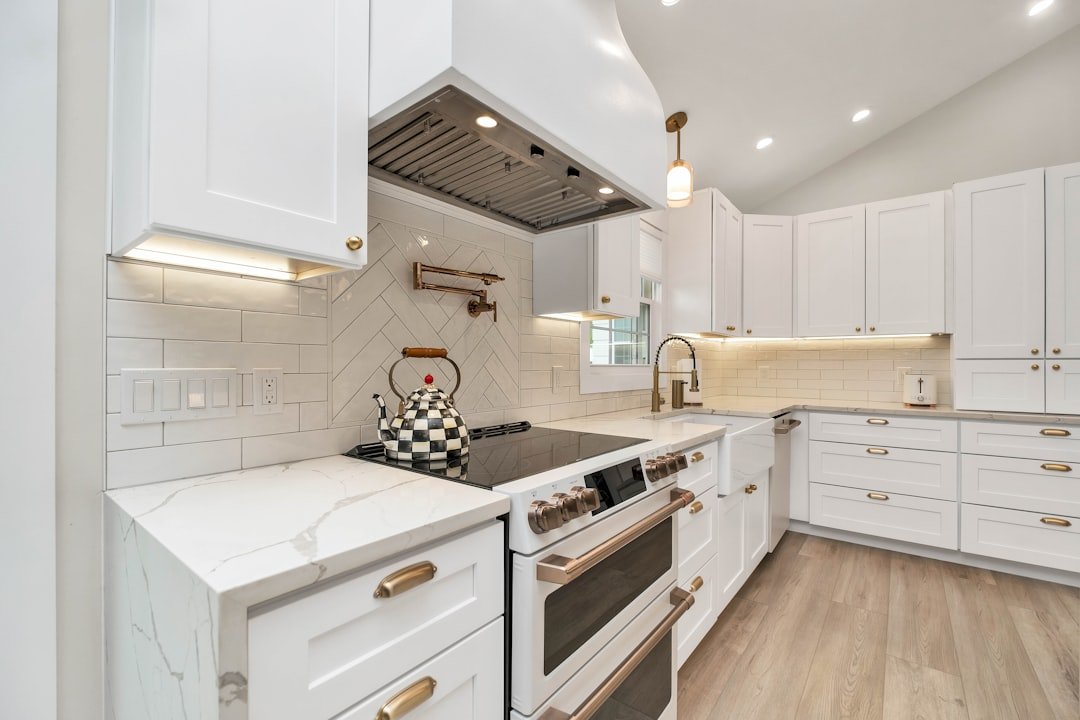
Kitchens are one of the hardest rooms to personalize as a renter, but peel-and-stick tile backsplash sheets solve that instantly. They install directly over existing tile or a painted wall, need no grout or tools, and can be removed cleanly when you move.
Clean the wall thoroughly and let it dry completely before applying, and use a smoothing tool (or a credit card) to push out air bubbles as you go. A backsplash update is one of the highest-impact, lowest-cost kitchen upgrades available to renters.
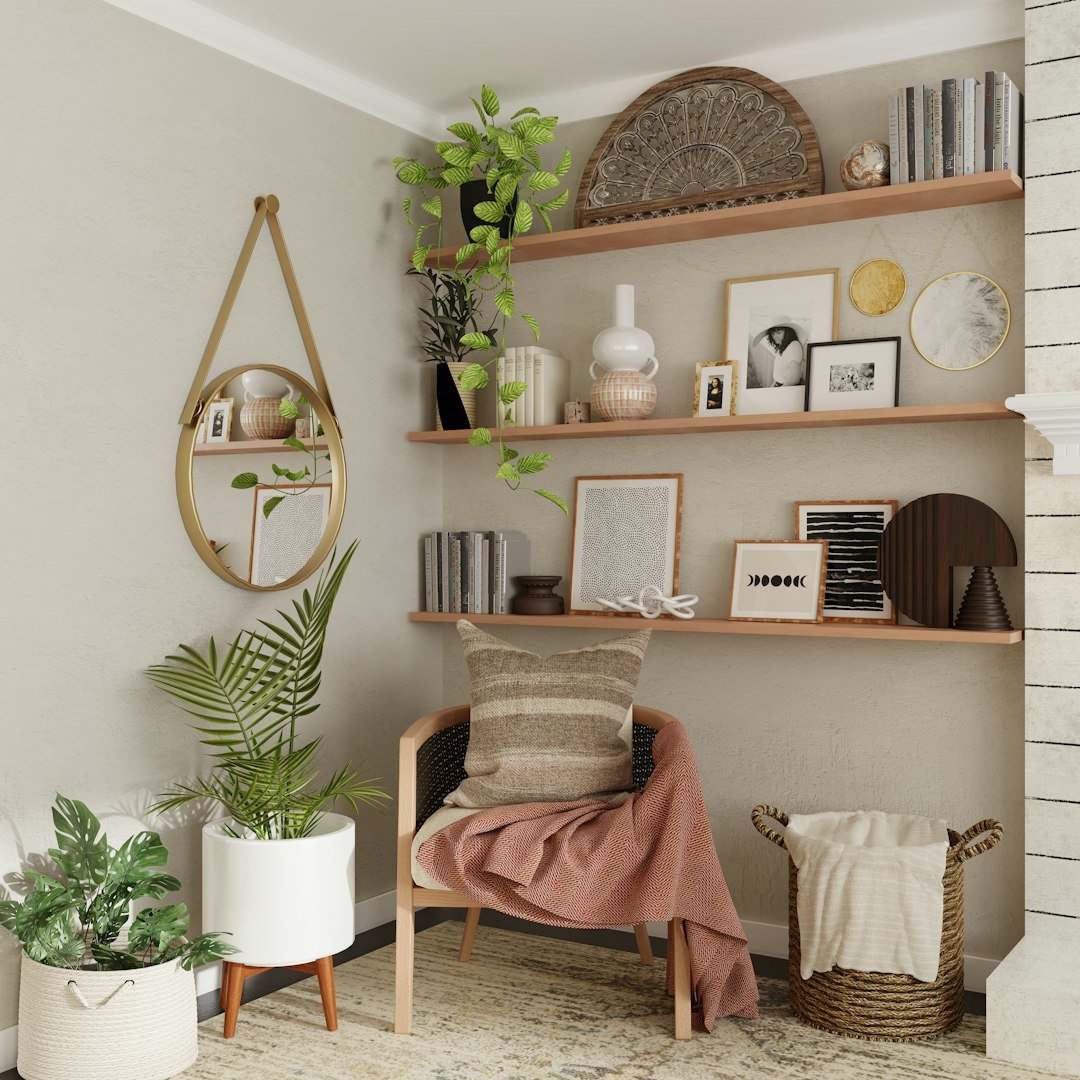
4. No-Drill Floating Shelves
Adhesive-mounted or tension-rod shelving systems let you add storage and display space without drilling into walls. These are ideal for a kitchen, entryway, or bathroom where extra surface space makes daily life easier.
Check the weight rating carefully before loading a no-drill shelf with heavy items like books or dishware, and always mount onto a clean, dust-free wall surface for the adhesive to bond properly.
5. Tension Rod Curtain Upgrade
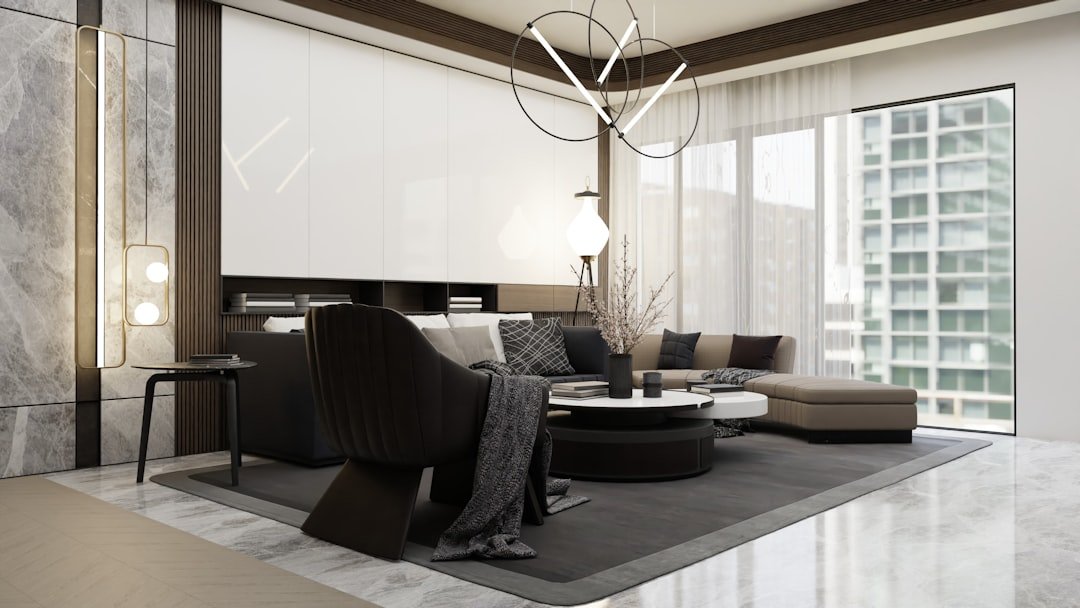
Swapping thin, builder-grade curtains for floor-to-ceiling drapery instantly upgrades a rental — and tension rods mean you never need to drill a curtain rod bracket into the wall. Mount the rod as high and wide as the window frame allows for a taller, more dramatic look.
Choose a slightly heavier fabric like a linen blend or velvet for a more elevated, hotel-like drape, and always double-check the tension rod’s weight capacity before hanging heavier curtain panels.
6. Painted Furniture Refresh
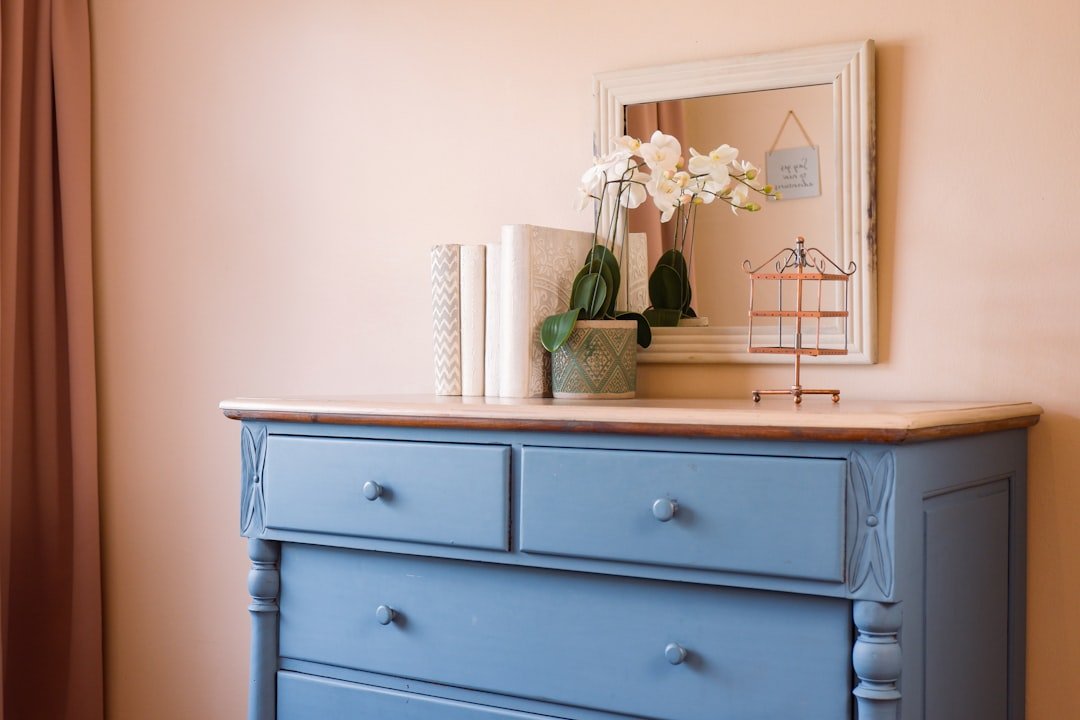
Instead of altering walls, refresh a tired secondhand dresser, side table, or bookshelf with a coat of paint. This is one of the most budget-friendly ways to bring your color palette into a room, and it turns thrifted furniture into a custom-feeling piece.
Sand lightly, apply a bonding primer if the piece is laminate or glossy, and finish with two thin coats rather than one thick one for the smoothest, most professional-looking result.
7. Cabinet Hardware Swap
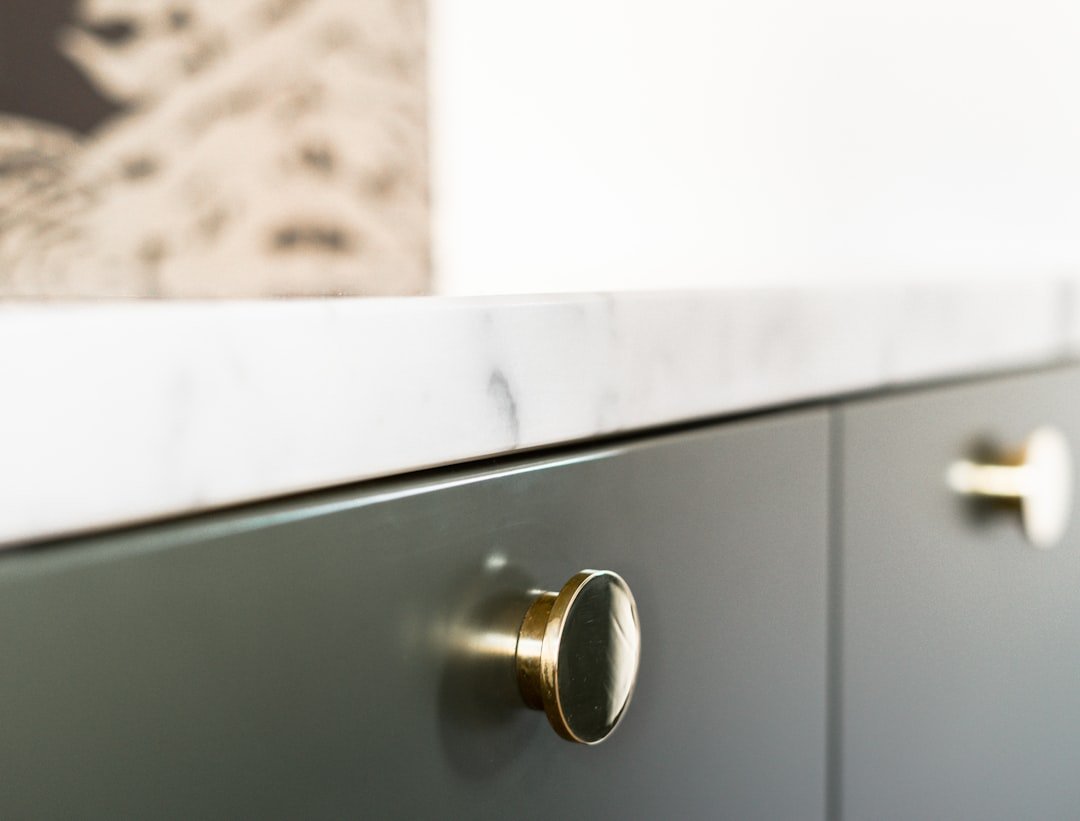
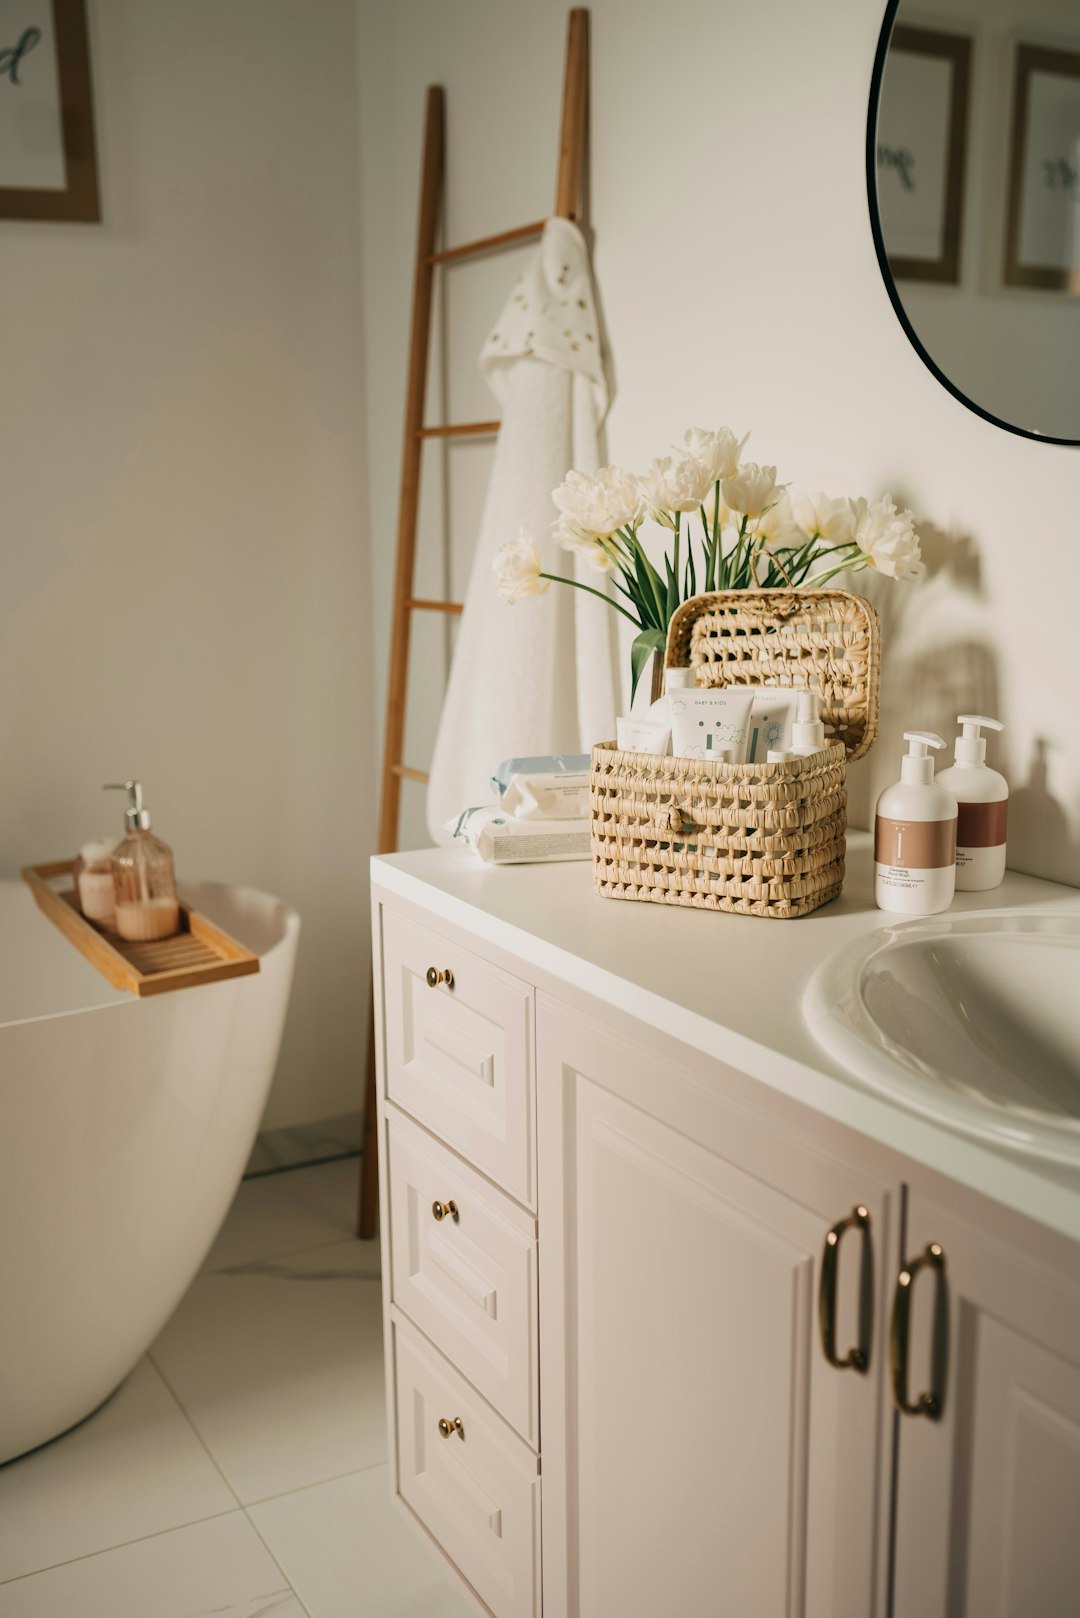
Swapping out builder-grade cabinet knobs and pulls for a warmer finish — brass, matte black, or ceramic — is one of the cheapest, highest-impact kitchen or bathroom upgrades available. Just keep the original hardware in a labeled bag so you can reinstall it before moving out.
Measure the distance between existing screw holes (called the “bolt spacing”) before ordering new hardware, so your replacement pulls line up with the holes already in your cabinets.
8. DIY Leaning Headboard
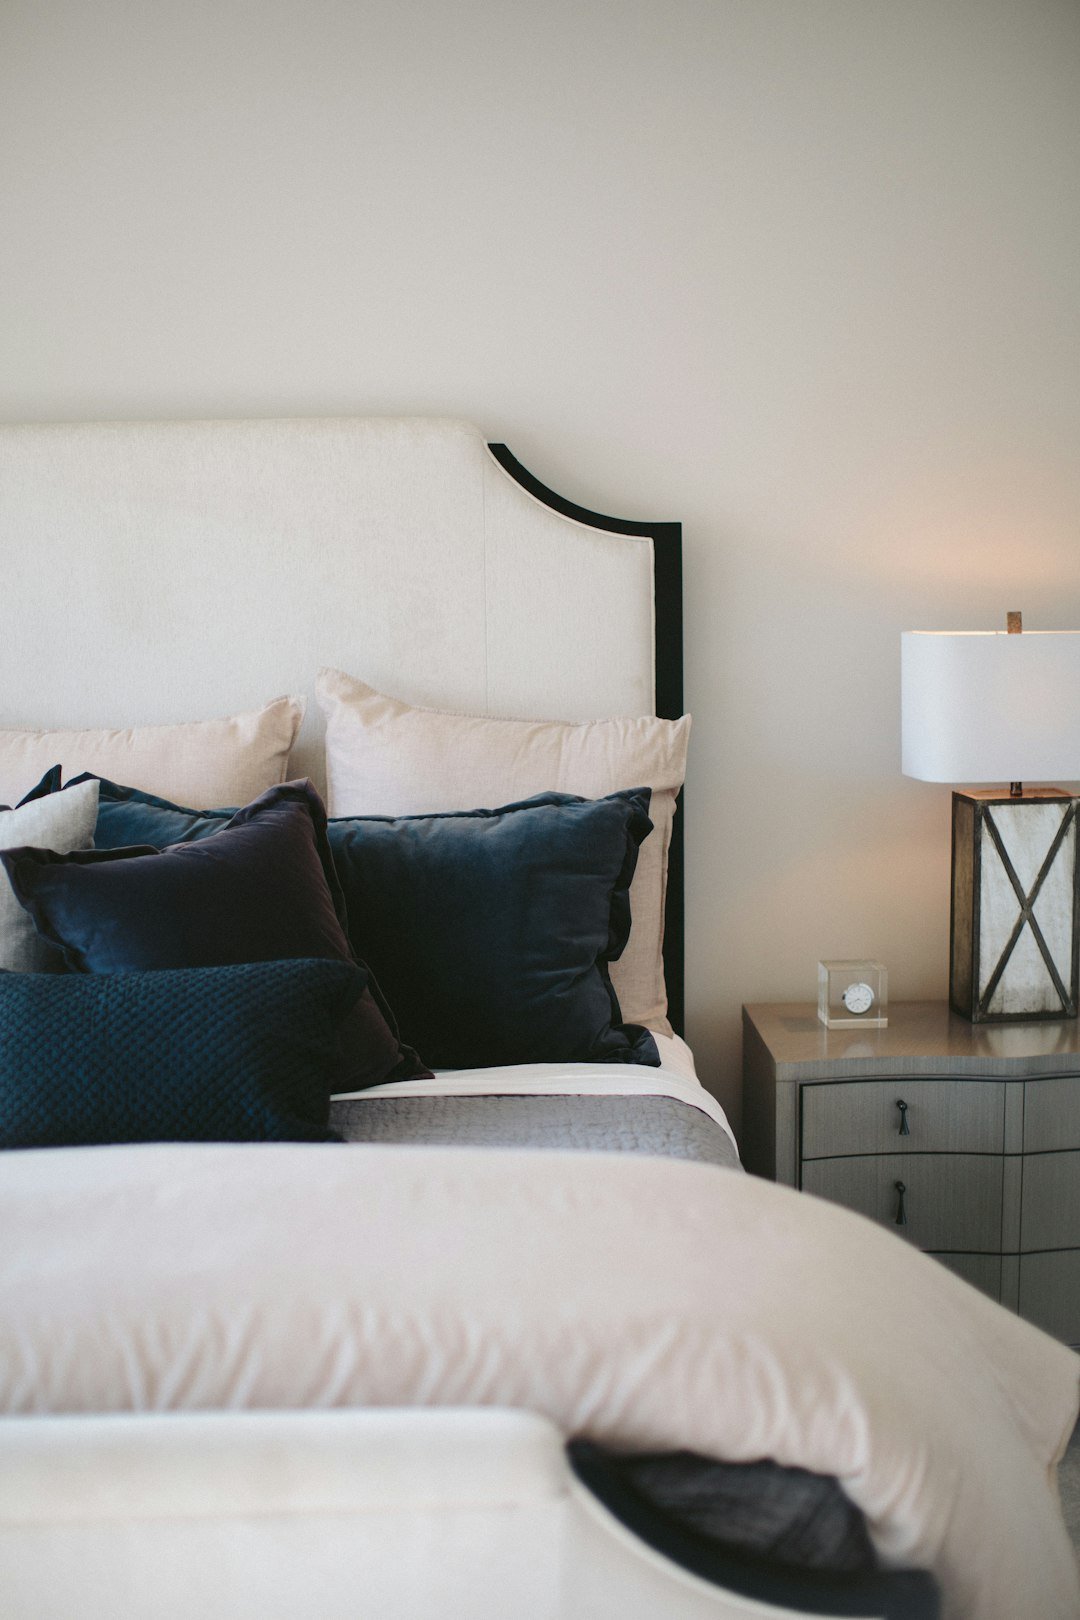
A padded or wood-panel headboard leaned against the wall behind your bed (rather than mounted to it) instantly makes a rental bedroom feel finished, without a single screw. Upholstered leaning headboards can be bought pre-made, or built cheaply from a plywood panel wrapped in fabric and foam.
Size the headboard a few inches wider than your mattress for the most polished, intentional look, and anchor the base gently behind the bed frame so it doesn’t shift over time.
9. Tension-Rod Under-Sink Organization
Under-sink cabinets are notoriously wasted space, and a tension rod mounted horizontally lets you hang spray bottles by their trigger handles, instantly doubling your usable storage without a single bracket or screw.
Pair the tension rod with stackable bins for smaller items, and use a lazy Susan turntable for bottles and cleaning supplies you reach for often — both are fully removable when you move.
10. DIY Plant Stand from a Step Stool
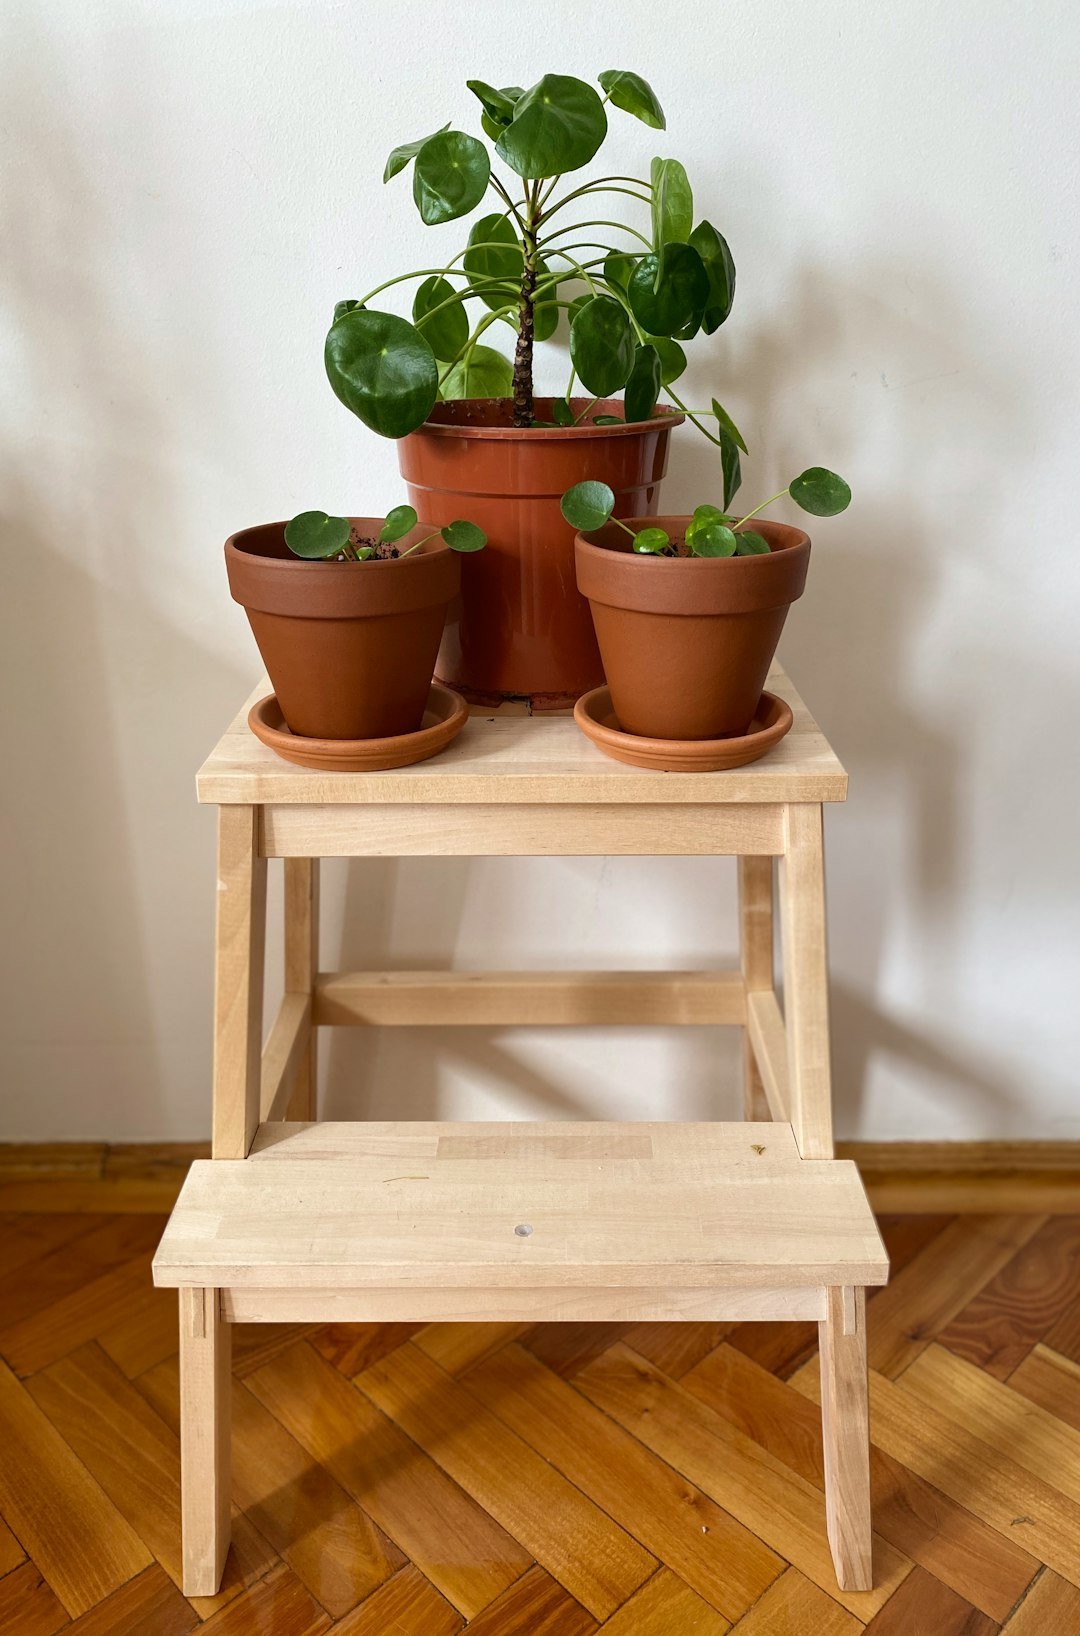
A small wooden step stool, painted or stained to match your palette, makes a charming, budget-friendly plant stand that adds height variation to a plant collection without buying dedicated furniture. Secondhand stools from thrift stores work perfectly for this.
Group two or three stools at different heights near a window for a layered, editorial-style plant display that costs a fraction of a matching plant stand set.
Final Thoughts
None of these projects require a single hole in the wall, a landlord’s approval, or a big renovation budget — just a bit of creativity and the right removable products. Start with one or two projects that solve your biggest daily annoyance, whether that’s a boring kitchen backsplash or a bare bedroom wall, and build from there.